Latest News and Event
Sharp MX-6500N: Full-bleed, edge-to-edge printing guide
Posted on
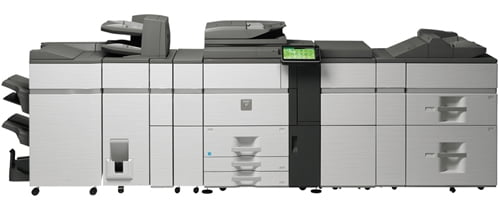
Bridging the gap between true digital printing press machines and office MFPs, the Sharp MX-6500N is a full colour, light production printer, designed to produce professional documents in-house. This ultra versatile light production device not only offers a full range of paper-feed and finishing options, it also handles a large variety of paper types and weights up to 300g/m2.
Why would your business need the Sharp MX-6500N?
The 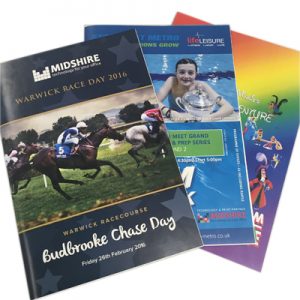 one feature that sets the Sharp MX-6500N apart from its competition, is the optional trimmer. With this simple addition, it means that you can create full-bleed A4 booklets in-house, with no unsightly white border around the edge. It also saves you paying and waiting for an outsourced printer to produce the job and ship it to you.
The MX6500N is an essential part of the office for Midshire’s marketing team. From printing A4 and A5 flyers for the sales team for exhibitions and canvassing, right up to 36 page booklets for customers, the Marketing team uses the device daily.
Midshire is the print and technology partner for a number of local charities including NK Theatre Arts and Stockport Metro Swimming Club, as part of this sponsorship, Midshire designs and prints their programmes using the Sharp MX6500N MFP as the full-bleed setting offers an affordable alternative to outsourced printing.
How to print full-bleed, edge-to-edge booklets on the MX-6500N
- Open the PDF and press print. The print pop-up will appear.
- Make sure you have selected ‘Sharp MX-6500N PCL6’.
- Under ‘Page Sizing and Handling’ choose the ‘Size’ button and select ‘actual size’.
- Under ‘Orientation’ select ‘Portrait’.
- Click the ‘Properties’ button at the top right of the pop-up.You will be taken to the ‘Main’ tab.
- Image orientation must be set to ‘Portrait’.
- Document style is ‘Pamphlet Style’ on the drop down select ‘Tiled Pamphlet’.
- Select the tray that you want the paper to feed from.
- Finishing options:
‘binding edge’ is ‘Left’,
‘Staple’ is ‘2 staples’. - Click on the ‘Trimming…’ button and click the trimming box. Set the width to 5.5mm (you may need to adjust if there is still a white margin when printed or if it cuts off too much of the artwork).
- Select the ‘Paper’ tab.
- Paper Size should be A4.
- On the ‘Print A4 on’ drop, select A3.
- At the bottom of column 2 tick the ‘edge to edge printing’ check box.
- Select the ‘Advanced’ tab.
- Click ‘Compatability’ which is at the bottom of the second column.
- Make sure that the ‘Rip Style’ is CMYK.
As Europe’s number 1 reseller of the MX-6500 in 2015, Midshire has the device in both its West Bromwich and Stockport show rooms, which are available for demonstrations. If you would like to see the edge-to-edge printer in action, or would like further assistance with setting up your documents to print edge-to-edge, please get in touch with us here.
